prestigecctv_logo
CCTV System Installation

DIY CCTV System Installation Process

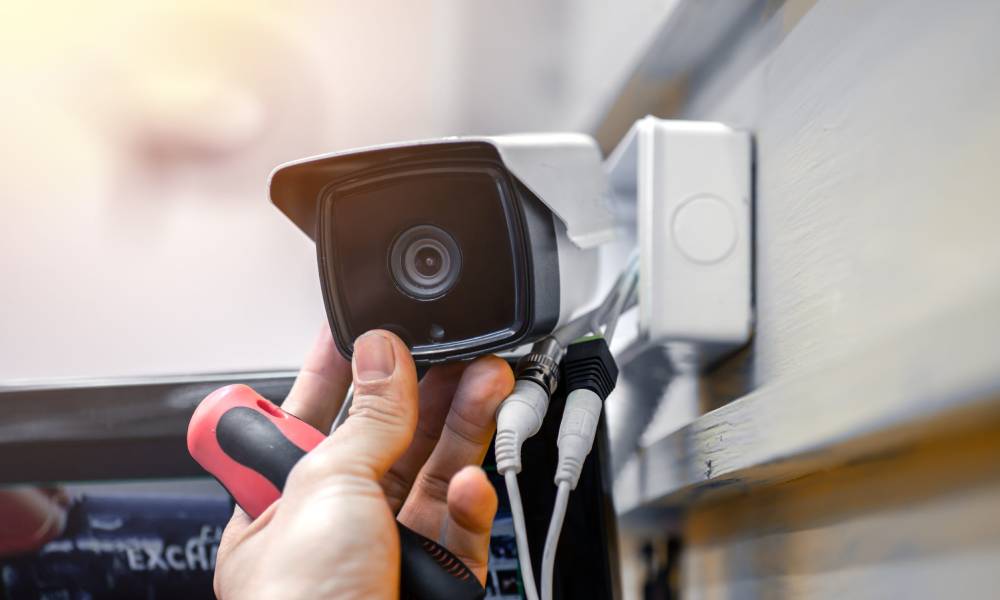
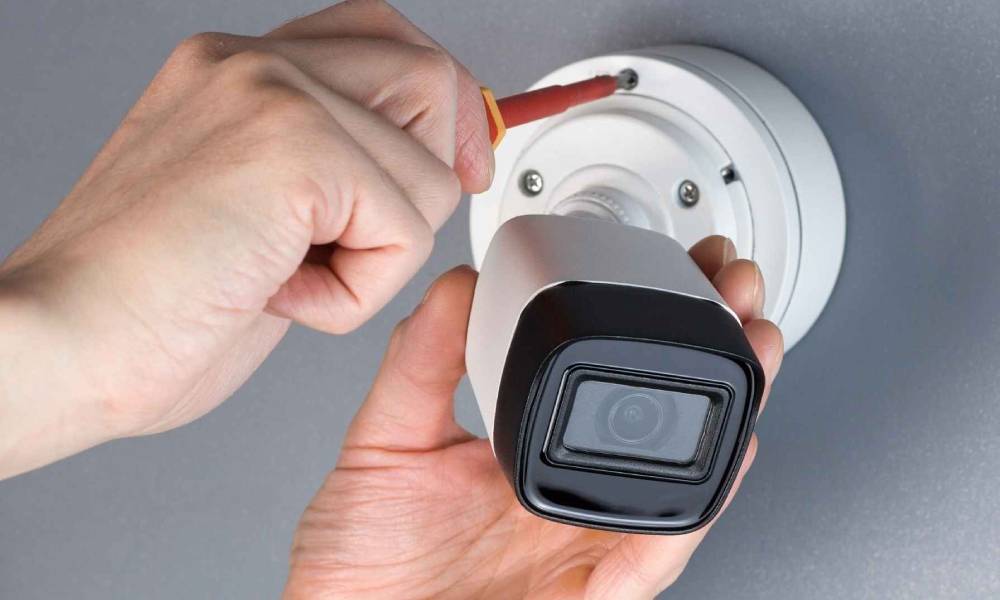
Installing a CCTV system, yourself can be a rewarding project. Here’s a step-by-step guide to help you with the DIY CCTV installation process:

  1. Plan and prepare
  2. Camera placement
  3. Tools needed for CCTV installation
  4. Connecting and setting up
  5. Configuring your CCTV system

Plan and Prepare

Selecting the right CCTV (Closed Circuit Television) system requires considering several factors to ensure it meets your needs. Here’s a step-by-step guide to help you make an informed decision:

  1. Determine your objectives: Start by identifying why you need a CCTV system. Do you want to enhance security, monitor specific areas, or deter potential criminals? Clarifying your objectives will help you choose the appropriate features and components.
  2. Assess your requirements: Consider the following factors:
  • Coverage area: Determine the size and number of areas you want to monitor.
  • Lighting conditions: Assess the lighting conditions in and around your premises, both day and night.
  • Resolution: Decide the level of detail you require. Higher resolutions provide clearer images but may require more storage space.
  • Storage requirements: Estimate how long you want to retain the recorded footage and calculate the storage capacity accordingly.
  • Accessibility: Decide whether you need remote access to the CCTV system or if local access will suffice.
  • Integration: Consider whether you want to integrate the CCTV system with other security systems, such as alarms or access control systems.
  1. Camera selection: Choose the appropriate cameras based on your requirements. Consider the following aspects:
  • Camera types: Decide between dome cameras, bullet cameras, PTZ (pan-tilt-zoom) cameras, or specialised cameras based on your needs.
  • Resolution: Higher resolutions such as 1080p or 4K offer better image quality.
  • Low light performance: If you need to monitor areas with low lighting, consider cameras with low light capabilities or infrared (IR) LEDs for night vision.
  • Wide Dynamic Range (WDR): Cameras with WDR can handle varying light conditions and simultaneously capture details in bright and dark areas.
  • Field of view: Choose cameras with appropriate focal lengths and viewing angles to cover your desired areas effectively.
  1. Recording and storage: Determine how you want to record and store the CCTV footage. Consider the following options:
  • Digital Video Recorder (DVR): Analog systems typically use DVRs to record and store footage. DVRs may have limited resolution and features compared to newer options.
  • Network Video Recorder (NVR): IP-based systems utilise NVRs, which offer higher resolution and advanced features. NVRs require an IP network infrastructure.
  • Storage capacity: Calculate the required storage capacity based on the number of cameras, resolution, frame rate, and retention period.
  • Backup options: Consider redundancy and backup solutions to protect your footage in case of hardware failure or data loss.
  1. Connectivity and monitoring: Decide how you want to access and monitor the CCTV system:
  • Local access: Determine if you only need to view the footage on-site using a monitor connected directly to the recording device.
  • Remote access: If you require remote access, ensure the system supports network connectivity and provides a user-friendly interface or mobile app for viewing footage from anywhere.
  1. Scalability and future expansion: Consider whether you need to expand your CCTV system. Choose a system that allows scalability, additional camera integration, and compatibility with future technologies.
  2. Budget: Set a budget for your CCTV system and consider the cost of cameras, recording equipment, installation, maintenance, and any additional features or services you may require.
  3. Professional consultation and installation: For complex installations or if you lack technical expertise, consider consulting a professional security provider to assess your needs, recommend suitable equipment, and handle the installation and configuration.
  4. Research and comparison: Research different brands, models, and customer reviews to find reliable and reputable CCTV system manufacturers and suppliers. Compare features, warranties, and after-sales support.
CCTV System Installation

Camera Placement

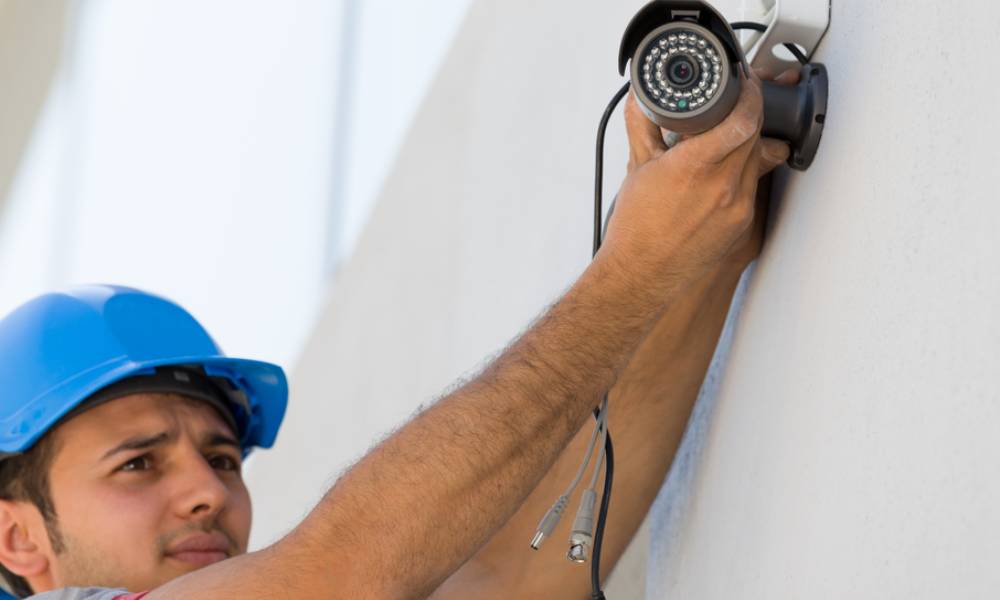
The proper positioning of CCTV cameras is crucial to ensure effective surveillance and coverage of the desired areas. Here are some general guidelines for camera placement:

  1. Entry Points: Install cameras near all entry points, such as doors, windows, and gates. This helps capture clear images of individuals entering or exiting the premises.
  2. Perimeter Coverage: Position cameras to cover the entire perimeter of your property. This includes the exterior walls, fences, and other boundaries. Make sure there are no blind spots.
  3. High-Risk Areas: Identify areas more vulnerable to security threats, such as storage rooms, cash registers, or areas with valuable assets. Install cameras to provide clear coverage of these high-risk zones.
  4. Points of Interest: Determine specific areas of interest within your property that require monitoring, such as parking lots, common areas, or outdoor spaces. Place cameras strategically to capture relevant activities in those locations.
  5. Line of Sight: Ensure that cameras have a clear line of sight to the areas they monitor. Avoid obstructions like trees, shrubs, or large objects that may block the view or provide hiding spots for potential intruders.
  6. Height and Angle: Mount cameras at an appropriate height and angle to capture facial features and other identifiable details. Generally, a height of 8 to 12 feet above the ground is recommended for optimal coverage.
  7. Lighting Conditions: Consider lighting conditions when positioning cameras. Avoid pointing cameras directly at bright light sources to prevent glare or washed-out images. Use cameras with low-light capabilities, or consider adding external lighting for low-light areas.
  8. Indoor Coverage: In indoor settings, position cameras to cover hallways, entrances, and areas with high foot traffic. Focus on areas where valuable items are stored or sensitive activities occur.
  9. Privacy Considerations: Be mindful of privacy laws and avoid pointing cameras at private areas such as bathrooms, changing rooms, or other sensitive spaces.
  10. Test and Adjust: After installing the cameras, test the coverage and adjust the positioning if needed. Ensure the cameras capture the desired areas and provide clear, identifiable images.
CCTV System Installation

Tools Needed for CCTV installation

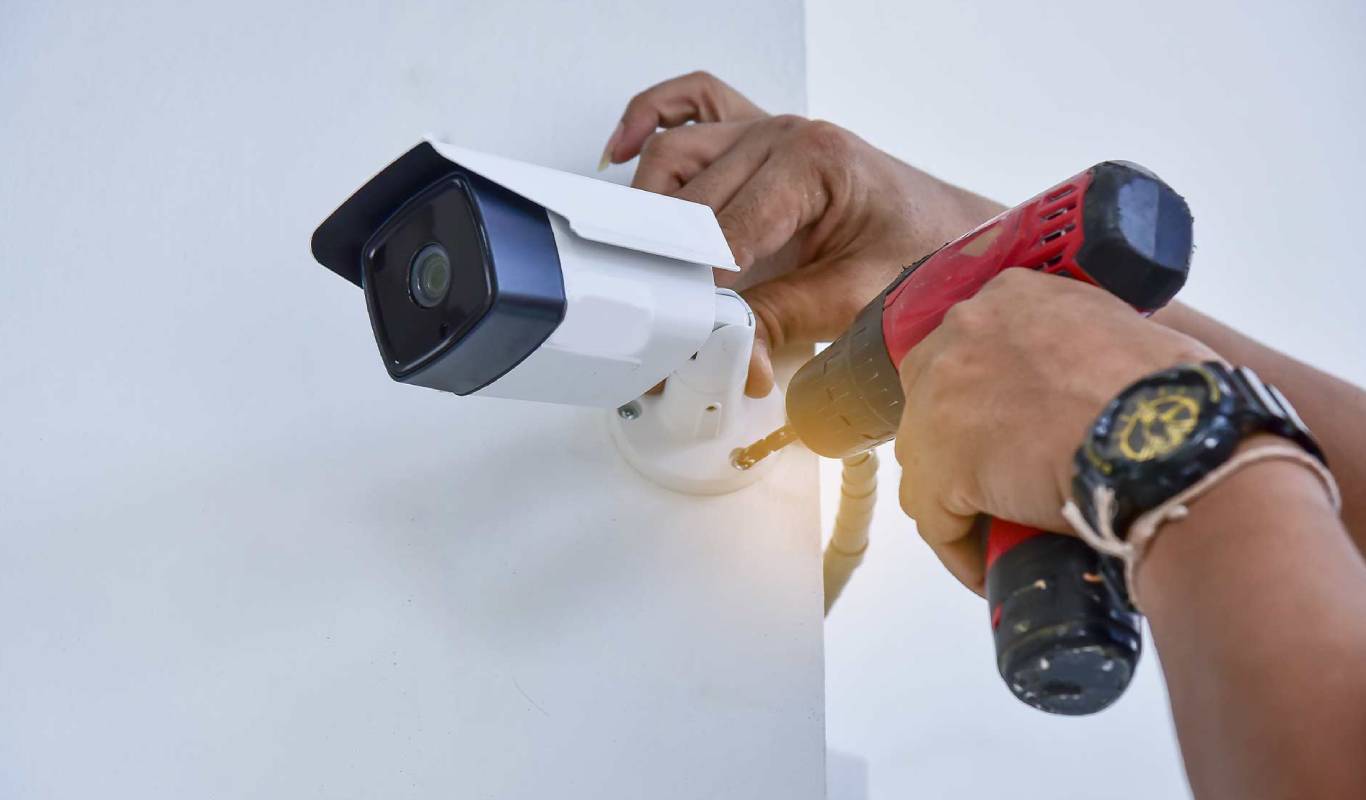
Installing a CCTV system requires a set of tools to ensure proper installation and configuration. Here are some commonly used tools for CCTV installation:

  1. Power drill
  2. Screwdrivers
  3. Cable crimping tool
  4. Cable tester
  5. Fish tape or wire-pulling tools
  6. Level
  7. Crimp connectors and BNC connectors
  8. Cable management accessories
  9. Power supply tester
  10. Ladder or scaffolding
  11. Monitor or laptop
  12. Multimeter
  13. Labelling tools
  14. Safety equipment

Connecting and Setting Up

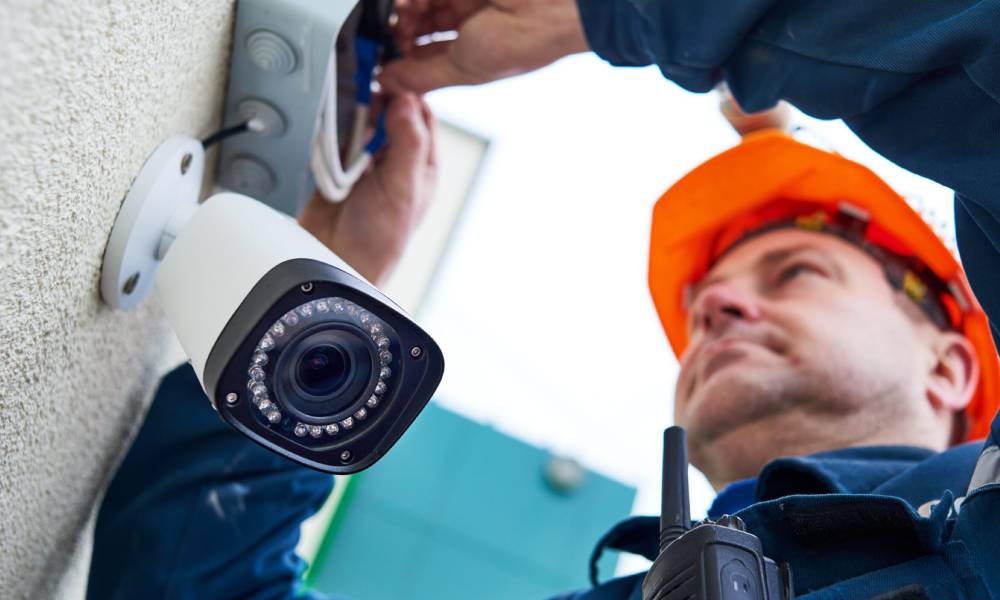
Connecting the components of a CCTV system involves establishing the necessary connections between the cameras, recording device, power supply, and other peripherals. Here’s a step-by-step guide to help you make the connections:

Camera Connections:

  • Identify the video output of each camera. If using analogue cameras, they typically have BNC connectors. If using IP cameras, they usually have Ethernet (RJ45) connectors.
  • Connect the BNC connectors of analogue cameras to the corresponding video inputs on the recording device (DVR or NVR). Ensure a secure and tight connection.
  • If using IP cameras, connect the Ethernet cables from each camera to the available Ethernet ports on the recording device (NVR). Use high-quality Ethernet cables and ensure a proper connection.

Power Connections:

  • Identify the power requirements of the cameras. Most CCTV cameras use either a DC power adapter or Power over Ethernet (PoE) technology.
  • If using DC power adapters, connect the power cable of each camera to the corresponding power supply. Make sure to match the correct voltage and polarity.
  • If using PoE, ensure that your recording device (NVR) supports PoE and that you have a PoE switch or injector. Connect the Ethernet cables from the cameras to the PoE switch or injector, providing data and power over the same cable.

Recording Device Connections:

  • Identify the video inputs on the recording device (DVR or NVR).
  • Connect the BNC cables from analogue cameras to the corresponding video inputs on the recording device. Make sure to match the channel numbers on the cameras and the recording device.
  • If using IP cameras, ensure that the Ethernet cables from the cameras are connected to the available Ethernet ports on the recording device. The NVR will automatically detect and configure the IP cameras.

Network Connections:

  • Establish network connections if you want to access your CCTV system remotely or connect it to a local network.
  • Connect the Ethernet port on the recording device to your router or network switch using an Ethernet cable.
  • Configure the network settings on the recording device following the manufacturer’s instructions.

Display Connections:

  • Make the necessary display connections if you want to view the CCTV system on a monitor or TV.
  • For analogue systems, connect the video output of the recording device (DVR) to the display using a VGA or HDMI cable.
  • Connect the display to the NVR using a VGA or HDMI cable for IP systems.

Additional Peripherals:

  • If you have additional peripherals such as alarm sensors, PTZ (Pan-Tilt-Zoom) cameras, or audio devices, consult the manufacturer’s instructions to make the necessary connections. This may involve wiring connections or configuring the settings on the recording device.

Power Supply Connections:

  • Connect the power supply of the recording device (DVR or NVR) to a reliable power source using the provided power cable.
  • Ensure that the power supply for the cameras and other peripherals is connected to a separate power outlet or power distribution box. Follow local electrical codes and safety guidelines.
DIY CCTV System Installation Process

Configuring your CCTV System

Configuring a CCTV system involves setting up the recording device (DVR or NVR) and configuring various settings to meet your specific requirements. Here’s a step-by-step guide to help you configure your CCTV system:

Power on the recording device:

  • Connect the power supply to the recording device and turn it on.
  • Wait for the device to boot up and initialise.

Access the user interface:

  • Connect a monitor or TV to the recording device using a VGA or HDMI cable.
  • Use a USB mouse or the device’s remote control to navigate the user interface.
  • Follow the manufacturer’s instructions to access the system’s user interface.

Set system language and date/time:

  • Navigate to the system settings or configuration menu.
  • Set the system language preference.
  • Configure the date and time settings. It’s essential to have accurate time synchronisation for proper event logging and playback.

Network configuration:

  • Configure the network settings if you want remote access to your CCTV system.
  • Set a static IP address or enable DHCP (Dynamic Host Configuration Protocol) to obtain an IP address automatically.
  • Configure port forwarding on your router if necessary, allowing remote access to the system from outside your local network.
  • Set up dynamic DNS (DDNS) if you don’t have a static IP address.

Camera setup:

  • Navigate to the camera settings menu.
  • Identify the connected cameras and ensure the system recognises them.
  • Configure camera-specific settings, such as resolution, frame rate, and encoding format.
  • Adjust image parameters, brightness, contrast, saturation, and sharpness, to optimise video quality.

Recording settings:

  • Configure the recording settings based on your requirements.
  • Select the recording mode (continuous, motion detection, or scheduled).
  • Specify the recording resolution, frame rate, and video encoding format.
  • Set the storage location for recorded footage (internal hard drive, external storage, or cloud storage if supported).

Motion detection and alerts:

  • Enable motion detection for the cameras if desired.
  • Set motion detection areas to define the regions where motion triggers recording or alerts.
  • Configure alert notifications via email or push notifications to a mobile app when motion is detected.

Playback and search:

  • Familiarise yourself with the playback and search functions of the recording device.
  • Learn to search and retrieve recorded footage based on specific dates, times, or events.
  • Practice playback and exporting recorded video clips to different formats if needed.

System maintenance:

  • Regularly update the firmware of your recording device to ensure it has the latest features and security patches.
  • Set up automatic backups or periodic manual backups of recorded footage to external storage.
  • Maintain sufficient storage capacity and optimise storage usage by adjusting recording settings and retention periods.

User management and access control:

  • Create user accounts with appropriate access levels for different users.
  • Set passwords and access restrictions to protect your CCTV system from unauthorised access.
  • Change default passwords and periodically update them for security purposes.

Remember to consult the manufacturer’s user manual or documentation for specific instructions related to your CCTV system. The user interface and configuration options may vary depending on the brand and model of your recording device. If you encounter difficulties or need further assistance, consider contacting the manufacturer’s support or seeking help from a professional CCTV system installer.

Table of Contents